Configure OctoDNS with CDB Managed DNS
OctoDNS is an open-source tool that manages DNS zones across multiple providers — use it to synchronize records from a primary DNS provider to CDB Managed DNS, keeping CDB as a secondary DNS with an up-to-date copy of zone data.
Before starting, verify that the primary DNS provider is supported by checking the providers table. If the provider is not listed, automatic record transfer is not supported.
Install OctoDNS
Steps 2–11 run in a terminal on the machine where OctoDNS will be installed — a local laptop or any Linux server works. The commands below are for Debian/Ubuntu; for other operating systems, install Python 3 and create a virtual environment using the method appropriate for that system.
- 1
Create a DNS zone for the domain to synchronize
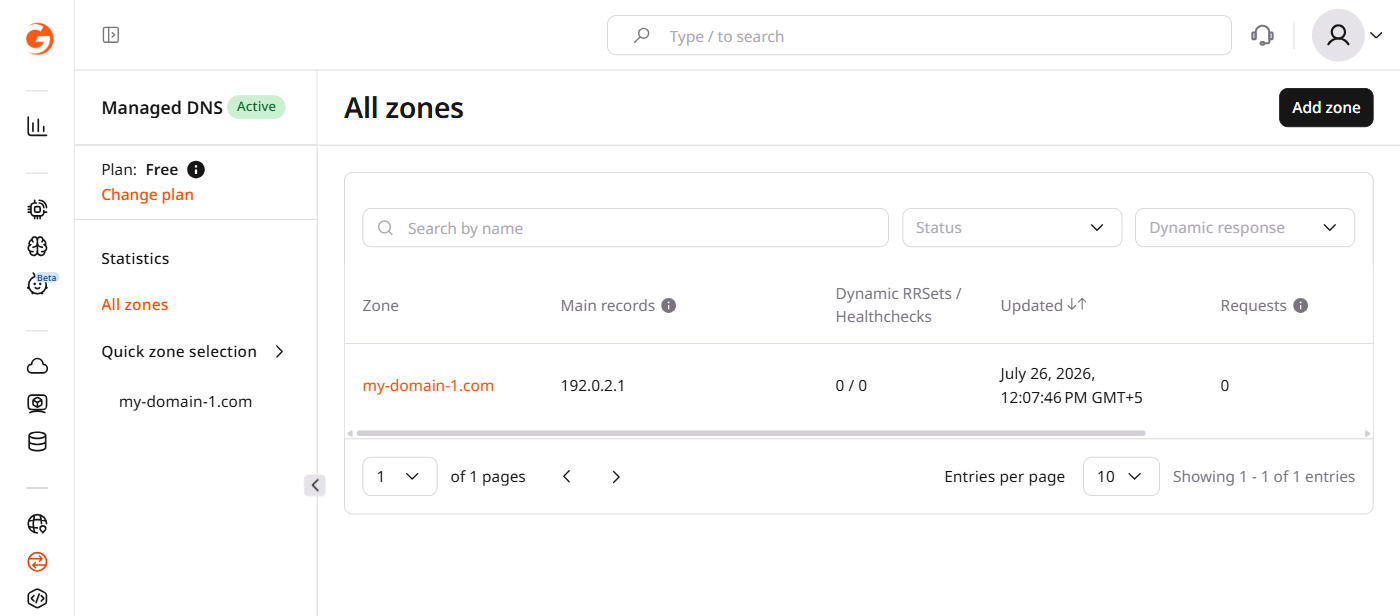
In the CDB Technical Web Portal, navigate to DNS and create a DNS zone for the domain to synchronize. If the zone already exists, skip this step.
- 2
Update the local package index
sudo apt update - 3
Install Python 3 and the venv module
sudo apt install python3 python3-venv - 4
Create a working directory for OctoDNS
mkdir ~/octodns ~/octodns/config - 5
Navigate to the working directory
cd ~/octodns - 6
Create and activate a Python virtual environment
python3 -m venv venv
source venv/bin/activate
Keep the virtual environment active for all remaining steps.
- 7
(Optional) Install Git
sudo apt-get install git-all - 8
Install OctoDNS and the provider packages
Replace
octodns_yourproviderwith the module name for the primary DNS provider found in the providers table:pip install octodns octodns_gcore octodns_yourproviderVerify the installation:
octodns-sync --versionExpected output (version number varies):
octoDNS x.x.xIf the command is not found, the virtual environment is not active. Run
source venv/bin/activatefrom the~/octodnsdirectory and retry. - 9
Navigate to the config directory
cd ~/octodns/config - 10
Create config.yaml
This file specifies the providers and DNS zones for OctoDNS to manage. YAML indentation is required — use the template below as a starting point:
providers:
  [your provider name]:
    [your provider class]
    [authentication data]
  gcore:
    class: octodns_gcore.GCoreProvider
    [authentication data]
zones:
  [your DNS zone].:
    sources:
      - [your provider name]
    targets:
      - gcore
CDB DNS provider configuration
The CDB DNS provider requires authentication. An API token is recommended:
gcore:
  class: octodns_gcore.GCoreProvider
  token: YOUR_API_TOKEN
  token_type: APIKey
Alternatively, login and password authentication is supported:
gcore:
  class: octodns_gcore.GCoreProvider
  login: your_login
  password: your_password
Primary provider configuration
Each provider has its own configuration format. In the providers table, find the primary provider, open its repository, and locate the Configuration section to copy the provider name, class name, and authentication fields.
With Amazon Route 53 as the primary provider, the full
config.yamllooks like this:providers: route53: class: octodns_route53.Route53Provider access_key_id: YOUR_KEY_ID secret_access_key: YOUR_SECRET_KEY gcore: class: octodns_gcore.GCoreProvider token: YOUR_API_TOKEN token_type: APIKey zones: myzone.com.: sources: - route53 targets: - gcore mymyzone.com.: sources: - route53 targets: - gcoreSave and close the file.
- 11
Verify with a dry-run sync, then apply
A dry-run shows the planned changes without applying them:
octodns-sync --config-file=~/octodns/config/config.yamlExample output:
* gcore (GCoreProvider)
*   Create <ARecord A 300, www.myzone.com., ['1.2.3.4']> (route53)
*   Summary: Creates=1, Updates=0, Deletes=0, Existing=0, Meta=False
If the output is correct, apply the changes:
octodns-sync --config-file=~/octodns/config/config.yaml --doitExample output:
INFO    GCoreProvider[gcore] apply: making 1 changes to myzone.com.
INFO    GCoreProvider[gcore] creating: Create <ARecord A 300, www.myzone.com., ['1.2.3.4']> (route53)
INFO    Manager sync:   1 total changes
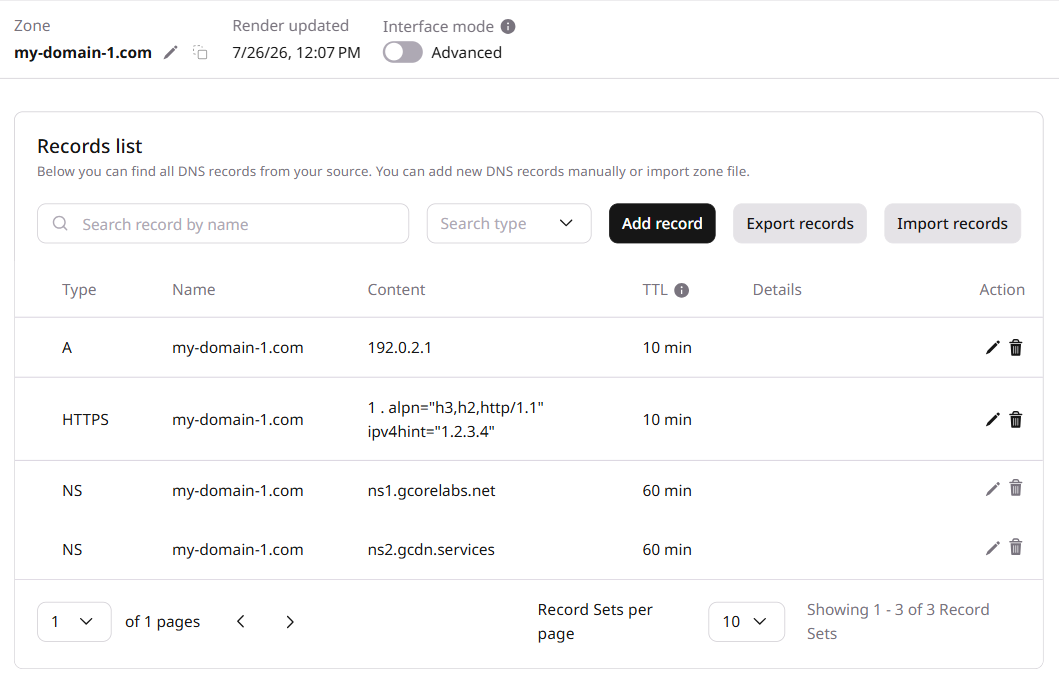
The synchronized records are visible in the Customer Portal under DNS → the zone name.
Update records
To re-sync records after changes in the primary provider:
- 1
Navigate to the OctoDNS directory and activate the virtual environment
cd ~/octodns source venv/bin/activate - 2
Run the sync command
octodns-sync --config-file=~/octodns/config/config.yaml --doit
To automate record updates, schedule this command with cron.