Getting started with Managed DNS
To use Managed DNS, create a DNS zone for a domain or subdomain in the CDB Technical Web Portal and point the domain to CDB's nameservers. The zone can then serve DNS queries through CDB's global network.
Create DNS zones
Navigate to the DNS section of the Customer Portal, then follow these steps:
- 1
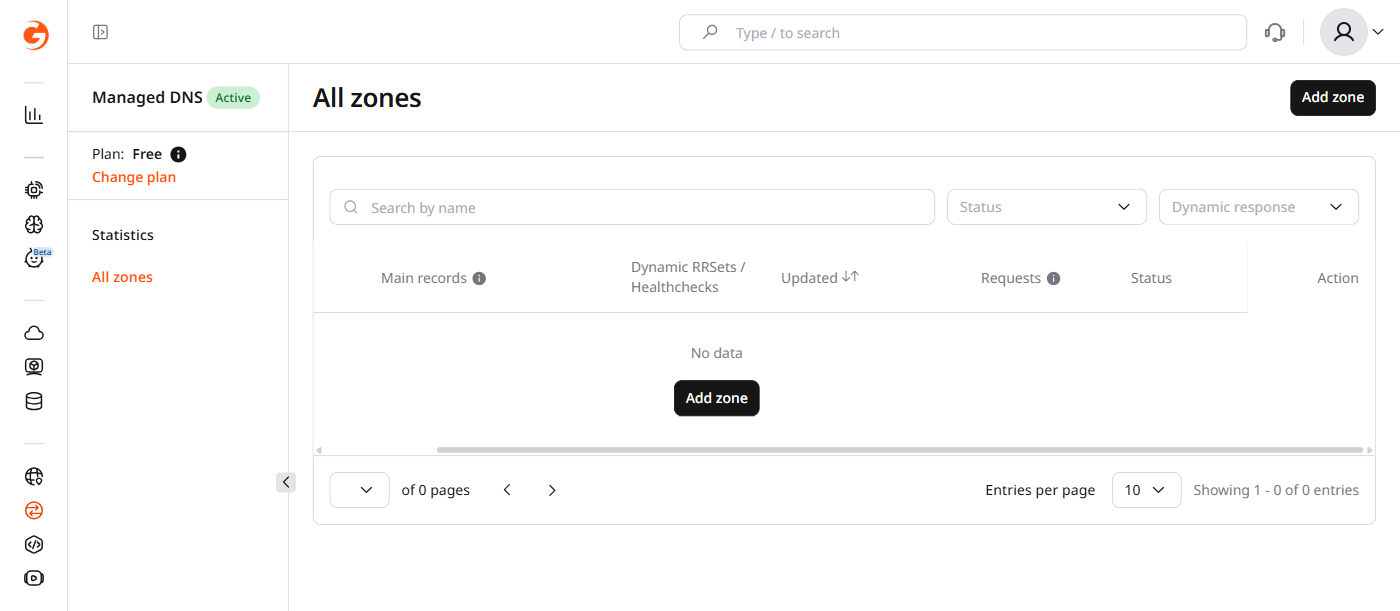
Open the zone creation wizard
Click Add zone.
- 2
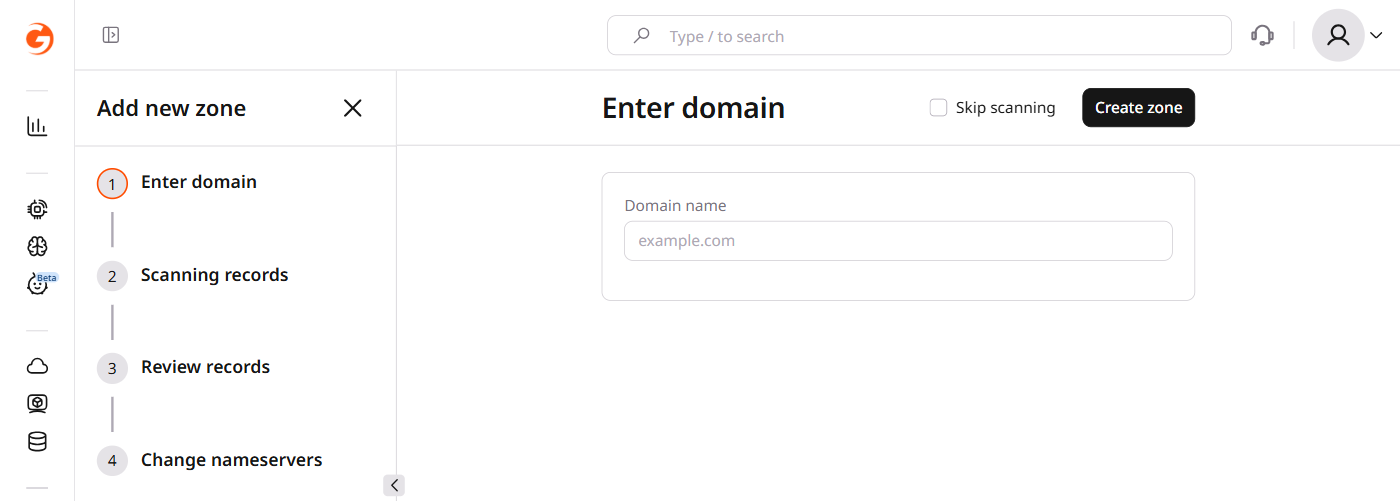
Enter the domain name
Enter a domain or subdomain name in the Domain name field and click Create zone.
Check Skip scanning to skip automatic record detection and proceed directly to the nameserver step.
- 3
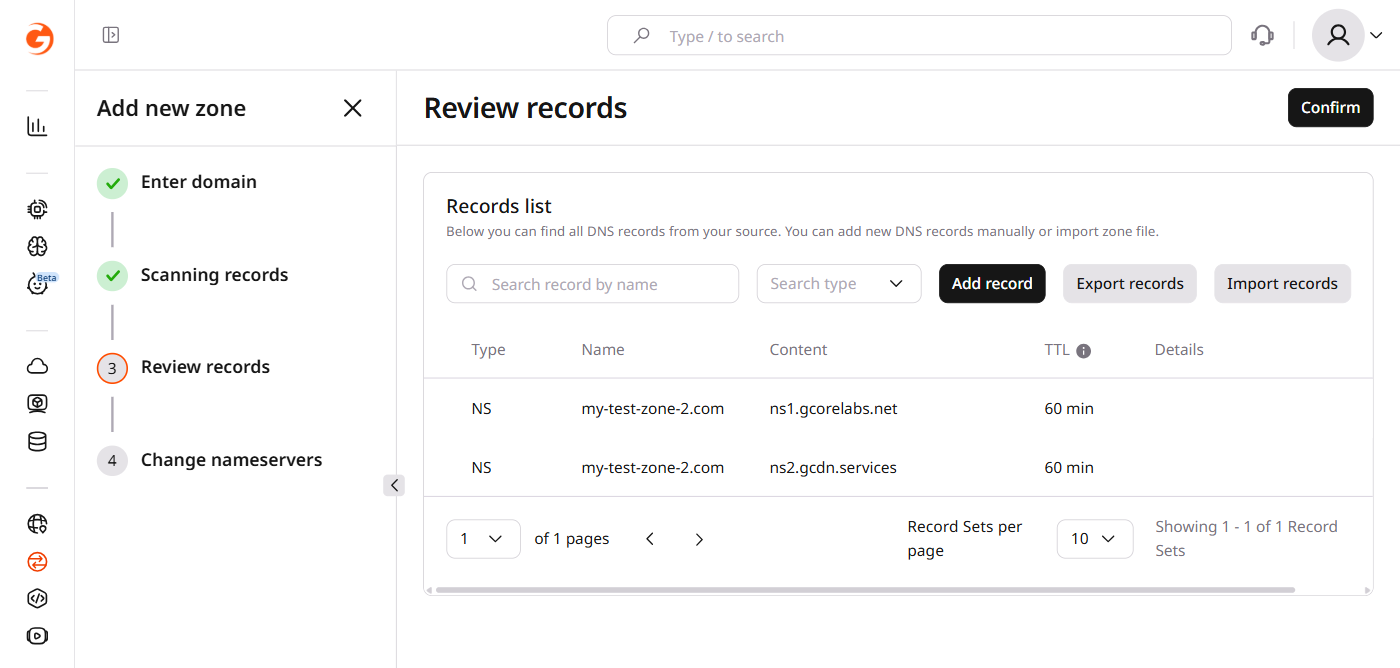
Review existing records
The portal scans existing DNS records automatically and opens the Review records page. Review, edit, or delete records as needed, then click Confirm.
- 4
Update nameserver records
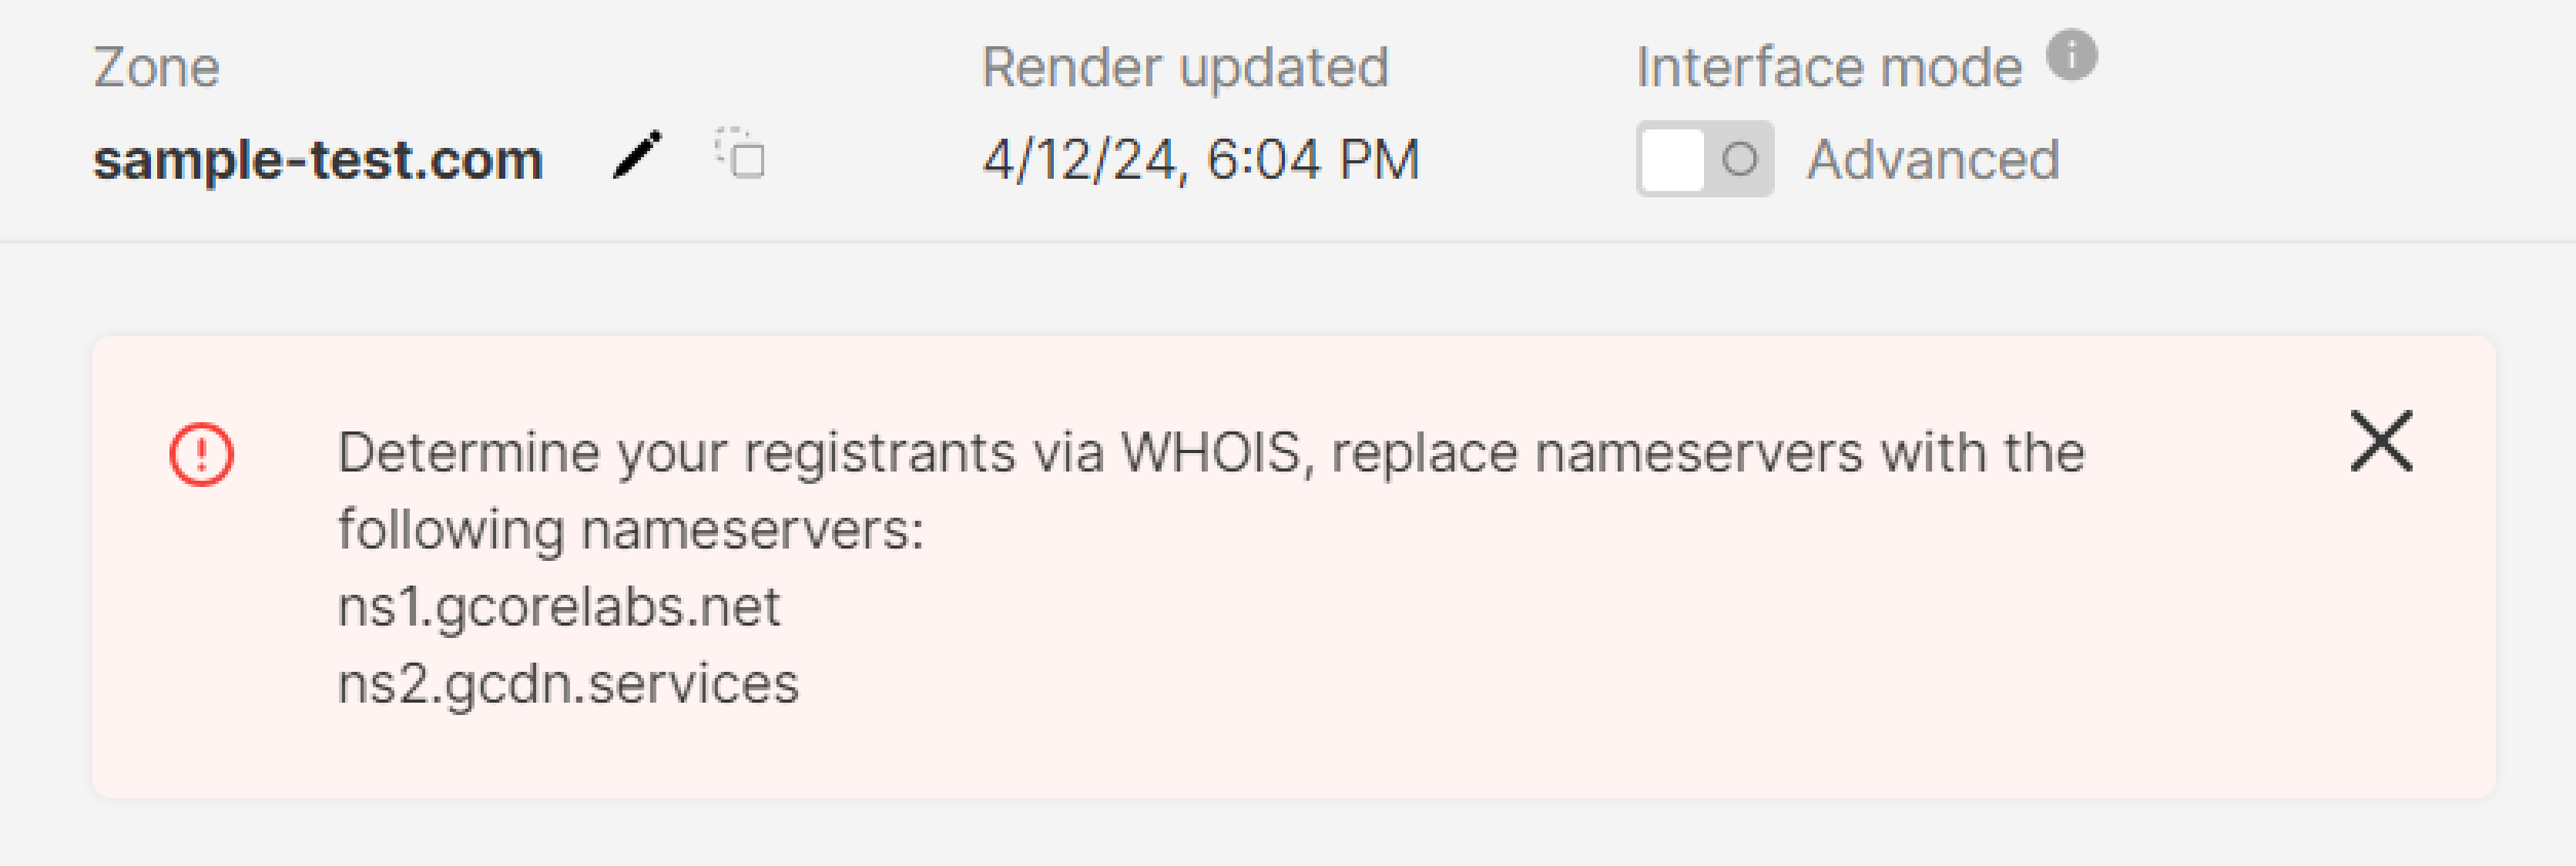
In the domain's DNS registrar or hosting panel, replace the current NS records with
ns1.gcorelabs.netandns2.gcdn.services, then return to the portal and click Confirm.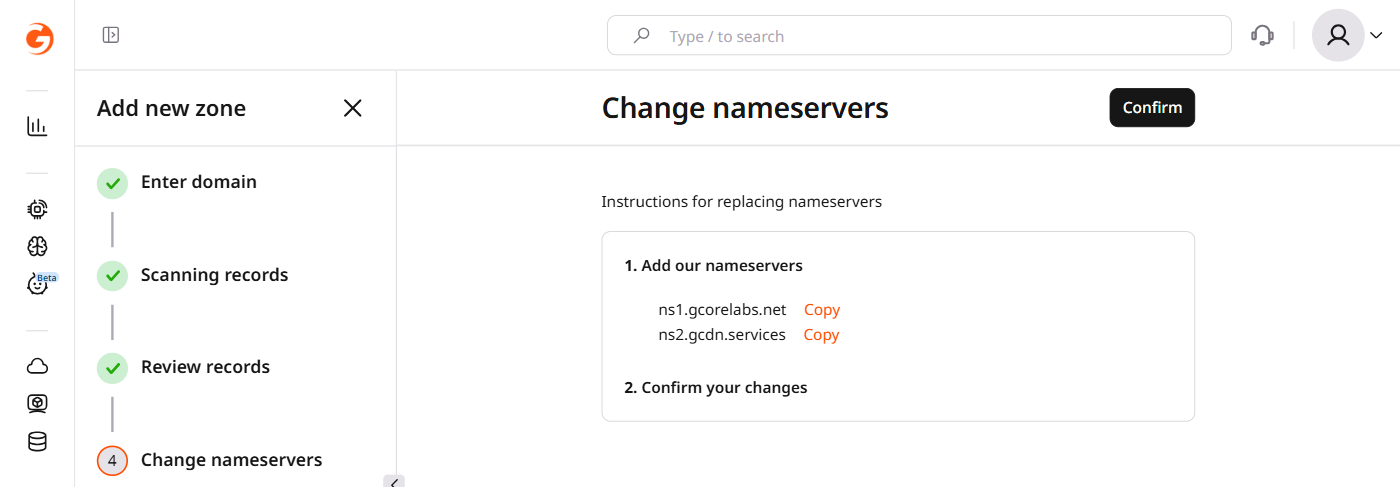
The zone is now active. Records and settings are available in the Customer Portal.
NS record changes may remain active for up to 24 hours while DNS caches update across the internet.
Manage DNS zones
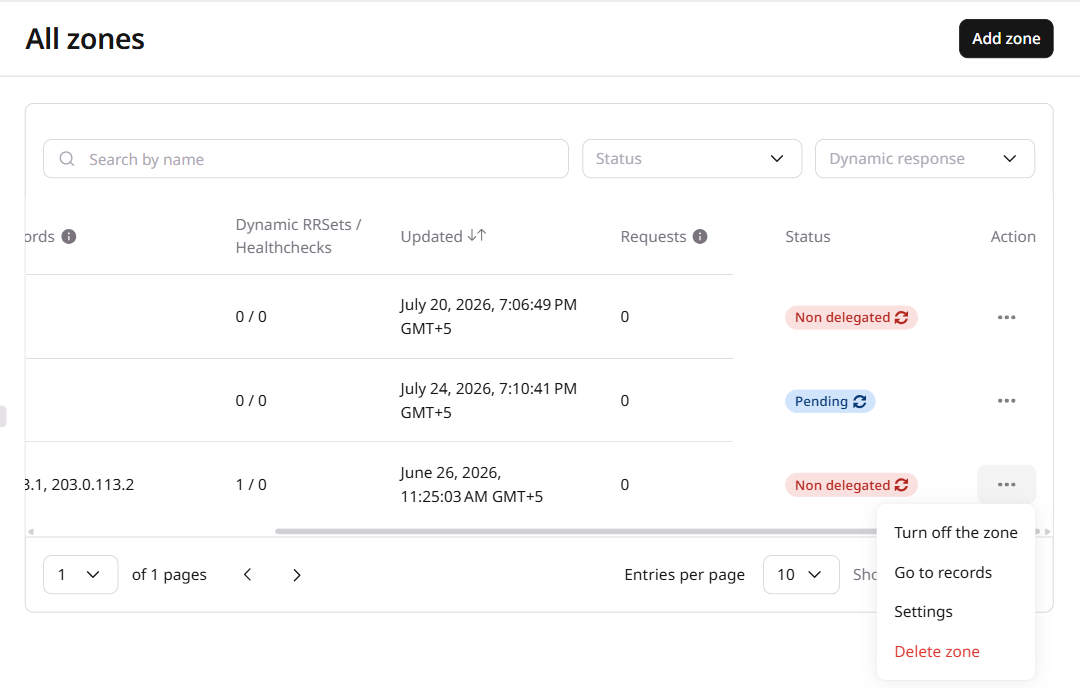
DNS zones are managed in the All zones section. In the row of the desired zone, click the three-dot icon and select an action:
- Turn off the zone. Disables a zone. The zone continues to appear, but the records added in the Customer Portal are not active.
- Go to records. Create, edit, and delete records.
- Settings. Edit the TTL of the records in the zone.
- Delete zone. Delete the zone.