Manage DNS records (advanced interface mode with dynamic response)
CDB Managed DNS advanced interface mode allows creating DNS record sets (RRSets) with dynamic response — routing DNS responses based on geography, weight, latency, or health checks.
Create a DNS record
- 1
Select a DNS zone
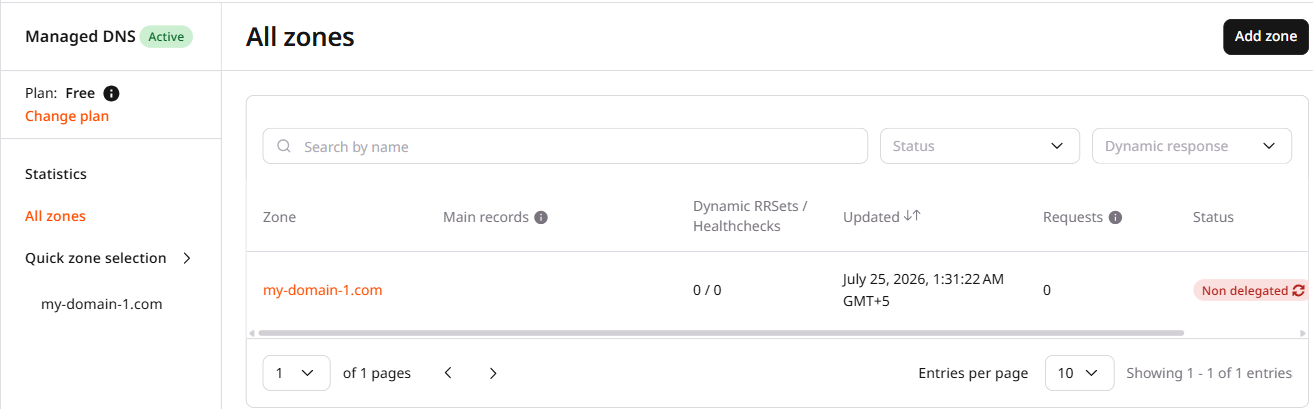
Navigate to All zones and select the zone to which records should be added. Alternatively, click the three-dot icon on the right and select Go to records.
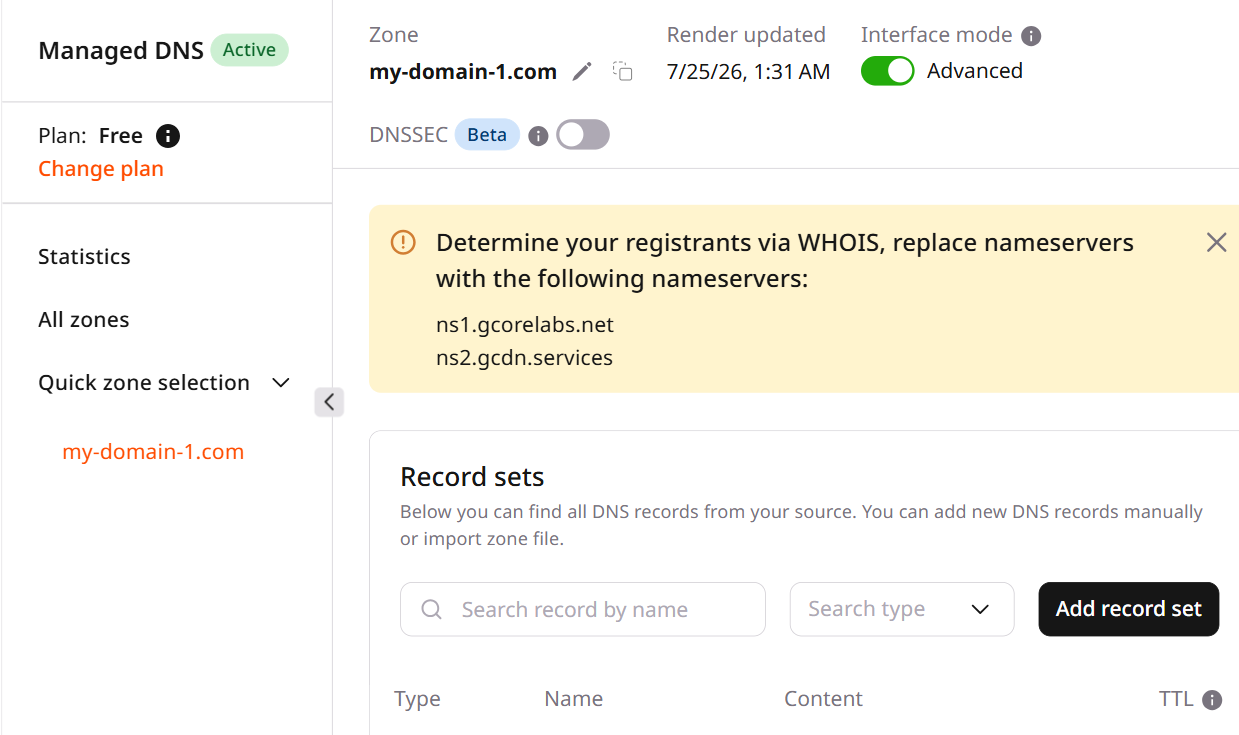
Check that the Advanced toggle in the Interface mode section is enabled (green):
- 2
Open the record creation form
Click Add record set.
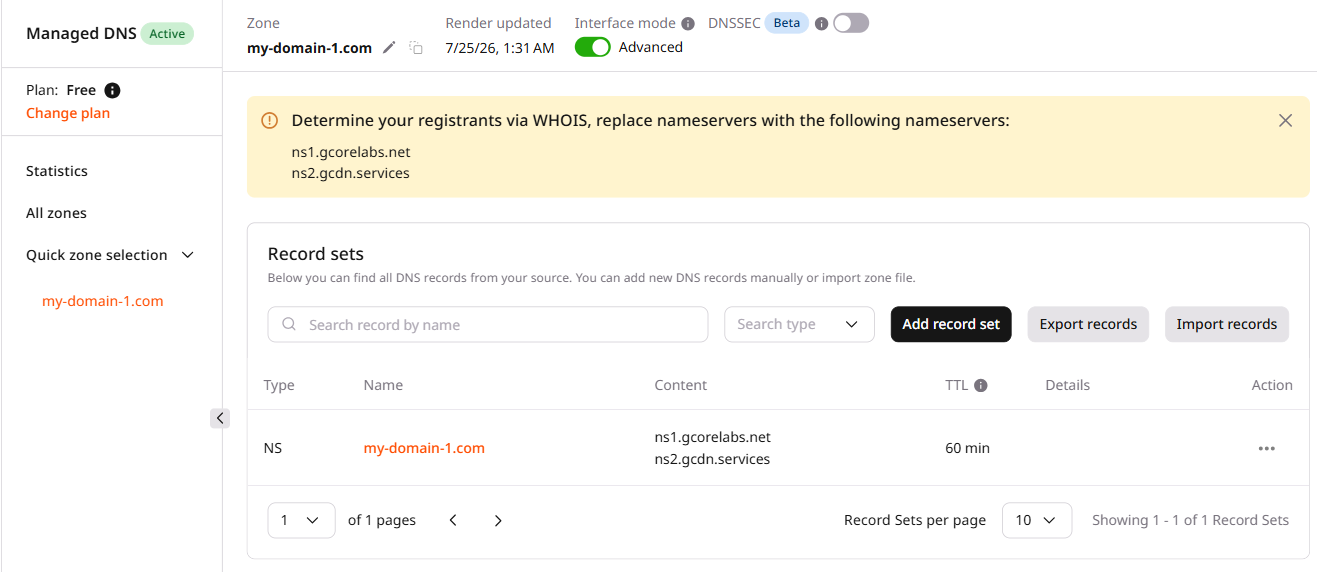
A new page opens with the record creation form.
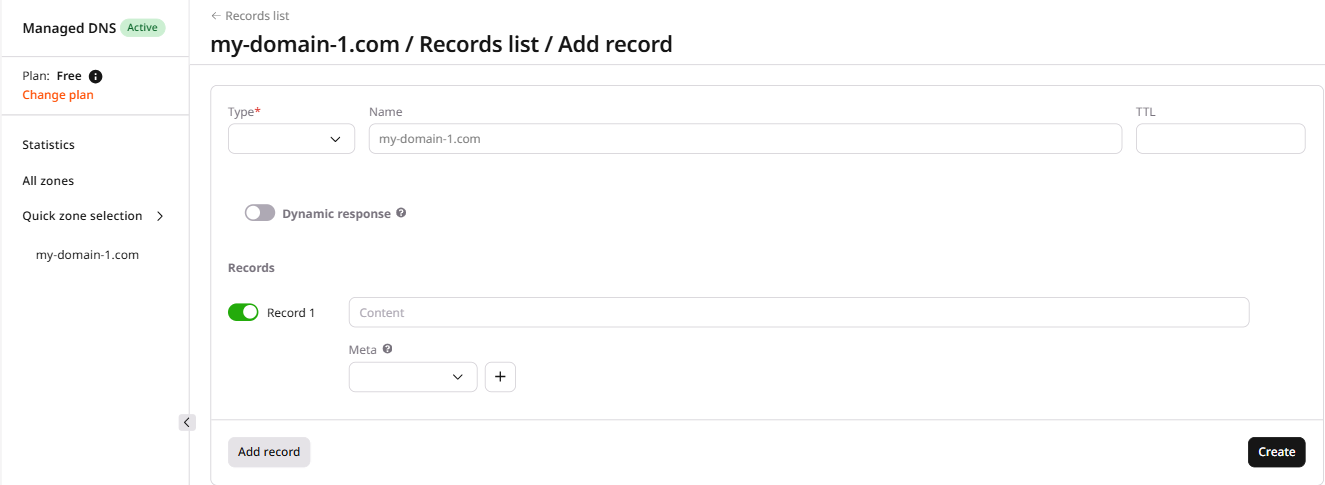
- 3
Select the record type
In the Type field, select the DNS record type: A, AAAA, NS, CNAME, MX, SRV, HTTPS, TXT, CAA, or SVCB. Each type is described in DNS records.
- 4
Set the record name
In the Name field, specify the subdomain the record belongs to. The options are:
- Leave the field blank to add a record for the apex domain (
sample-test.com). - Enter a subdomain name to add a record for that subdomain. Entering
onecreates a record forone.sample-test.com. - Enter an asterisk (
*) to add a wildcard record that applies to all subdomains.
- Leave the field blank to add a record for the apex domain (
- 5
Set the TTL
In the TTL field, specify the TTL (time to live) in seconds.
- 6
Configure dynamic response (optional)
The dynamic response feature is available on the Free plan, but creating more than one dynamic RRset requires a paid plan.
CDB's DNS servers can return different DNS records to different users — users in Asia can be directed to an Asian server and users in Europe to a European one. This is called dynamic response. Full configuration instructions are in dynamic response.
To enable dynamic response, check the Dynamic response checkbox. Leave it unchecked to proceed without dynamic response.
Dynamic response can also be configured via API using dynamic RRsets. The DNS API reference covers picker and selector options.
- 7
Set the record value status
Each record value is active by default. To save a value without activating it, uncheck the toggle next to that record.
- 8
Enter the record value
In the Content field, enter a value for the record type.
- 9
Add metadata (optional)
Specify associated metadata to be used for dynamic response configuration. The metadata guide covers the full configuration.
- 10
Add more record values (optional)
Click Add record to specify additional values for the record set. A new record entry appears — enter the content and metadata as needed. To remove a record value, click the minus button next to it. To disable a value without removing it, uncheck its toggle.
- 11
Create the record
Click Create.
The record set is created with the specified parameters. The DNS Lookup tool verifies that the record is propagated correctly.
Manage a DNS record
- 1
Select a DNS zone
Navigate to All zones and select the zone containing the records to edit or delete.
- 2
Edit or delete a record
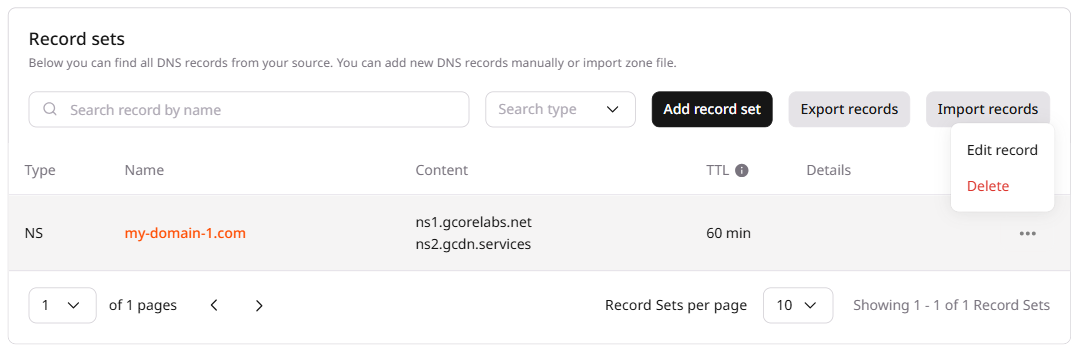
To edit a record, click its name or select Edit record from the three-dot menu — both open the same edit form. To delete a record, click the three-dot icon and select Delete.